
Top rated how to change tire in 3 steps

Have you ever found yourself stranded on the roadside with a flat tire and no help in sight? Learning how to change tire properly is an essential skill every driver should master. This critical knowledge can save you time, money, and potentially dangerous situations when you least expect them.
Table of Contents
Understanding the tire replacement steps ensures you’re never helpless when facing this common roadside emergency. With proper technique and the right tools, changing a tire can be accomplished safely in about 30 minutes, providing peace of mind during your travels.
Materials & Supplies
To be prepared for a flat tire situation, keep these essential tools in your vehicle:
1. Spare tire (check regularly that it’s properly inflated)
2. Lug wrench or tire iron
3. Car jack (appropriate for your vehicle)
4. Jack stands (for added safety)
5. Wheel chocks or blocks
6. Gloves (to protect your hands)
7. Flashlight (with working batteries)
8. Reflective warning triangles or flares
9. Tire pressure gauge
10. Rain poncho (for inclement weather)
11. Small piece of wood (to stabilize the jack on soft surfaces)
12. Owner’s manual (for vehicle-specific instructions)
Having these items readily available in your trunk can make the difference between a minor inconvenience and a major roadside ordeal.
Timing / Inspection Schedule
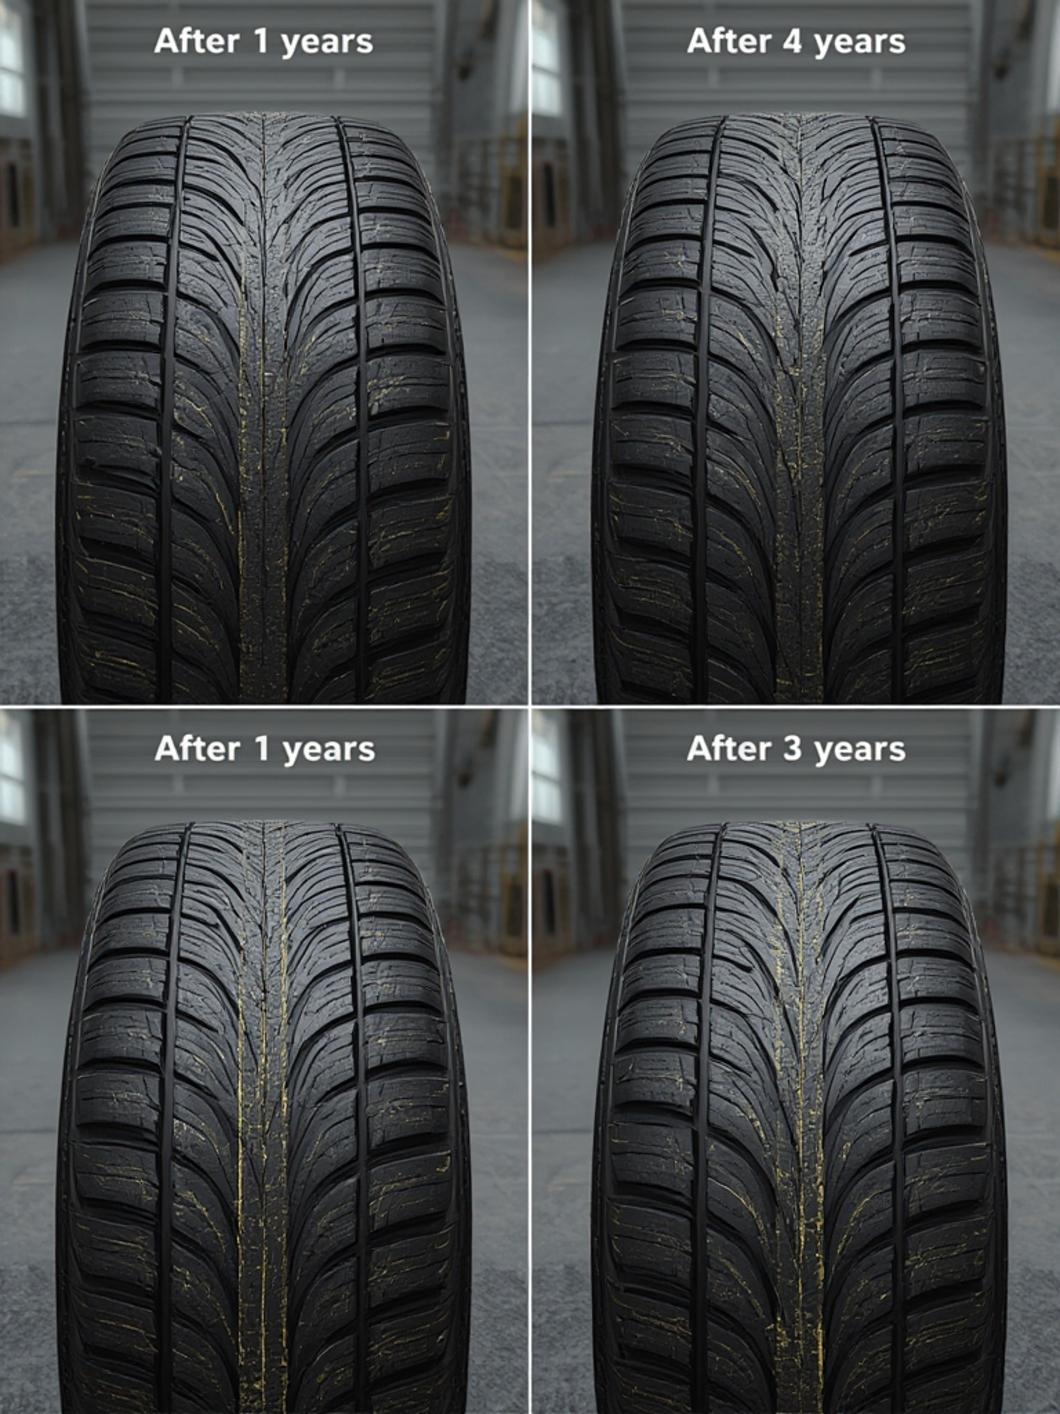
You should inspect your tires monthly and before long trips to prevent flat tires. Check for:
– Proper inflation (check when tires are cold)
– Tread depth (insert a quarter—if you can see the top of Washington’s head, it’s time for new tires)
– Unusual wear patterns (which may indicate alignment issues)
– Foreign objects or damage
– Cracks or bulges in the sidewall
Typically, a tire change takes 20-30 minutes for someone with basic experience. However, first-timers may need up to 45 minutes. Practice in your driveway before you face an emergency situation on the road.
Step-by-Step Instructions
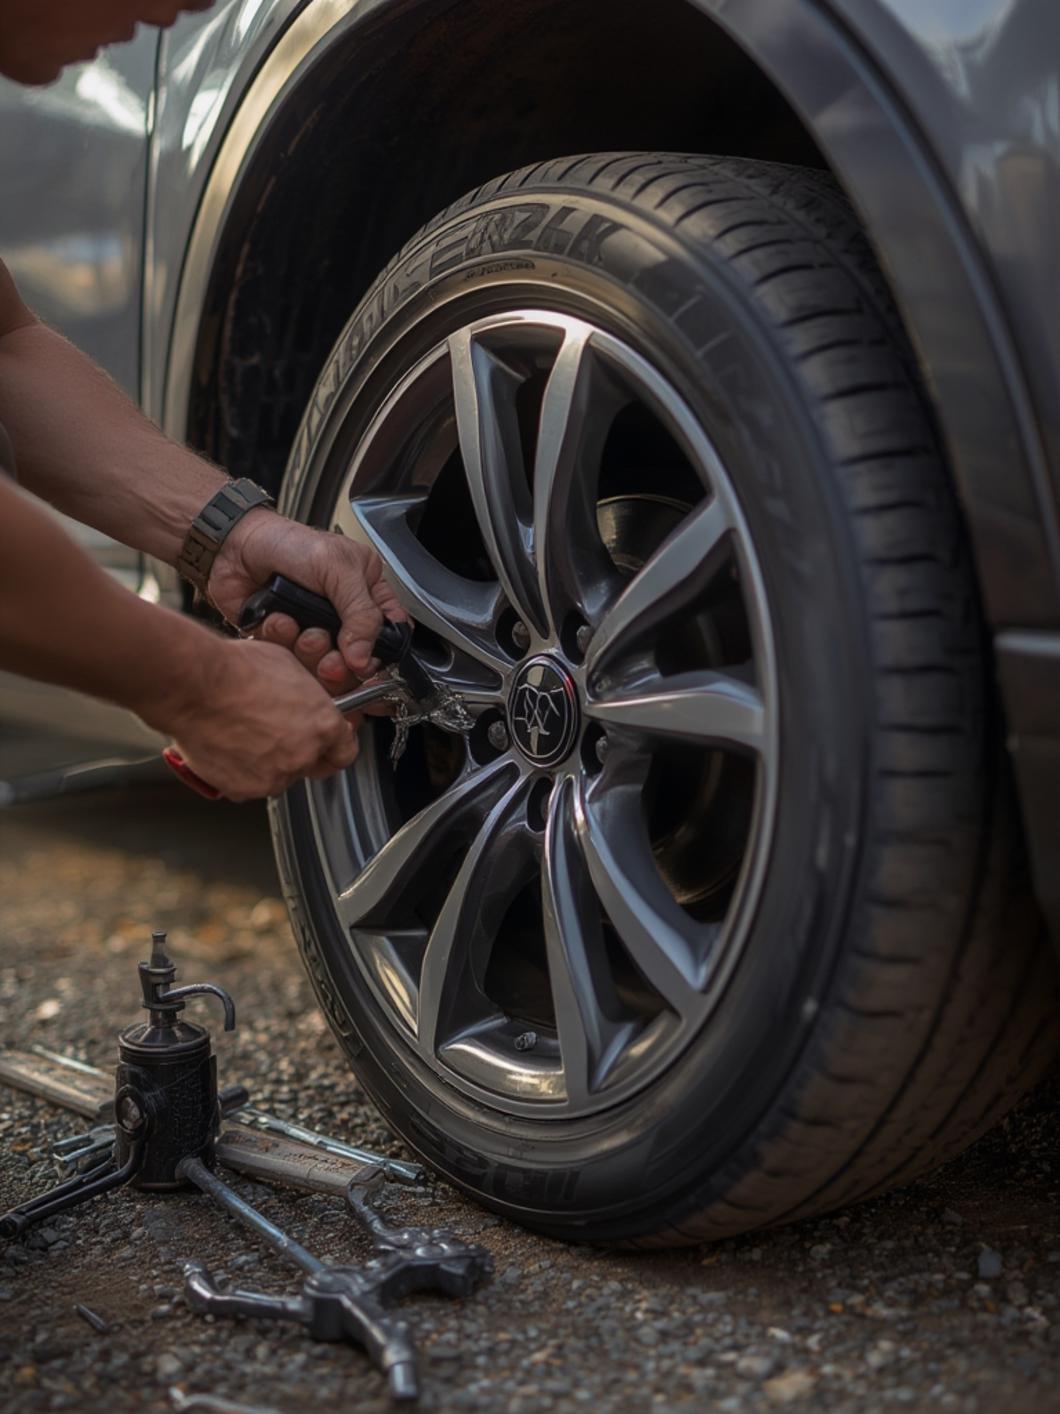
1. Find a Safe Location: Pull completely off the road on level ground, engage parking brake, turn on hazard lights, and set up reflective triangles.
2. Prepare Your Vehicle: Block the wheel diagonal to the flat tire using wheel chocks. Remove hubcap if necessary to access lug nuts.
3. Loosen Lug Nuts: Use the lug wrench to turn lug nuts counterclockwise about a quarter turn. Don’t remove them completely yet—just break their resistance while the tire is still on the ground.
4. Position the Jack: Consult your owner’s manual to locate proper jacking points. Place the jack under the frame near the flat tire.
5. Raise the Vehicle: Pump the jack to lift the vehicle until the flat tire is about 6 inches off the ground. Never put any part of your body under the vehicle during this process.
6. Remove Lug Nuts: Fully remove the loosened lug nuts, storing them where they won’t roll away.
7. Remove the Flat Tire: Pull the tire straight toward you to remove it from the wheel hub. Set it aside.
8. Mount the Spare Tire: Align the spare with the wheel hub and push it all the way onto the mounting bolts. Following these tire replacement steps carefully ensures proper installation.
9. Replace Lug Nuts: Hand-tighten the lug nuts as much as possible in a star pattern.
10. Lower the Vehicle: Carefully lower the vehicle until the spare tire touches the ground but still bears some weight on the jack.
11. Tighten the Lug Nuts: Use the lug wrench to fully tighten the lug nuts in a star pattern. Lower the vehicle completely and remove the jack.
12. Final Inspection: Check that all lug nuts are tight and secure the flat tire, jack, and all tools in your vehicle.
Understanding how to change tire components correctly prevents potential issues down the road.
Benefits / Advantages
Mastering tire changing offers numerous benefits:
– Independence from costly roadside assistance services
– Minimal downtime during travel emergencies
– Increased confidence in handling roadside situations
– Prevention of rim damage from driving on a flat
– Enhanced safety for you and your passengers
– Knowledge that transfers to helping others in need
Tips, Alternative Methods, or Driving Advice
– Keep a pair of work gloves and kneeling pad in your emergency kit
– Consider upgrading to a hydraulic bottle jack for easier operation
– For stubborn lug nuts, try standing on the lug wrench (with caution)
– Drive no faster than 50 mph on most temporary spares
– Replace your spare tire if it’s more than 7-10 years old, even if unused
– In extreme weather or unsafe locations, calling roadside assistance may be the safest option
Common Mistakes to Avoid
– Not loosening lug nuts before jacking up the car
– Incorrectly positioning the jack (can damage vehicle or cause injuries)
– Over or under-tightening lug nuts (follow manufacturer torque specifications)
– Forgetting to check spare tire pressure regularly
– Skipping the final torque check after driving 50-100 miles
– Working too close to traffic without proper visibility or warnings
Storage / Maintenance Tips
– Keep your spare tire properly inflated (check monthly)
– Rotate your full-size spare with regular tires during rotation service
– Store the spare in its designated location, properly secured
– Protect tools from rust by keeping them clean and dry
– Have your lug nuts retorqued within 100 miles after changing a tire
– Replace tire-changing equipment if damaged or excessively worn
Conclusion
Learning how to change tire is an invaluable skill that provides security and peace of mind on the road. By following these tire replacement steps, you’ll be prepared to handle this common roadside emergency confidently and safely. Remember to practice in a controlled environment before you need this skill in an actual emergency. Take time now to check your vehicle’s emergency kit and ensure you have all the necessary tools ready. Your future self will thank you when you’re back on the road quickly after a flat tire instead of waiting hours for assistance.
FAQs
How long can I drive on a spare tire?
Most temporary spares (donuts) should be driven no more than 50-70 miles at speeds below 50 mph. Full-size spares can be driven normally but should be properly inspected and replaced in the regular rotation as soon as possible.
Do I need to retorque my lug nuts after changing a tire?
Yes, it’s recommended to have your lug nuts retorqued to the proper specification after driving 50-100 miles following a tire change to ensure they’re properly seated.
What if I can’t loosen the lug nuts by hand?
Try using your body weight by carefully stepping on the lug wrench (ensuring the vehicle is stable). If still unsuccessful, a penetrating lubricant may help, or you might need a breaker bar for additional leverage.
Can I change a tire on an incline or uneven surface?
It’s not recommended. If absolutely necessary, ensure the vehicle cannot roll by blocking wheels and engaging emergency brake. Use extreme caution as the vehicle could shift when jacked up.
Should I replace just the flat tire or all four tires?
If the other tires have significant tread remaining and the damaged tire can be repaired, replacing just one is fine. However, if tires are more than 2/32″ different in tread depth, or if you have all-wheel drive, replacing tires in pairs or sets of four is often recommended.