
How to choose a low tire pressure light

Have you ever been driving and suddenly noticed a strange yellow symbol illuminating your dashboard? That glowing low tire pressure light is actually a crucial safety feature designed to alert you when your tires need attention. Many drivers panic or ignore the TPMS warning (Tire Pressure Monitoring System), but understanding what triggers this alert and how to respond properly can prevent dangerous driving situations, improve fuel economy, and extend the life of your tires.
Table of Contents
This guide will walk you through everything you need to know about managing tire pressure at home, saving you time, money, and potentially preventing a roadside emergency.
Materials & Supplies
To properly address tire pressure issues at home, you’ll need:
1. Tire Pressure Gauge – Digital models offer precise readings while traditional pen-style gauges are affordable and reliable
2. Portable Air Compressor – Look for one that plugs into your car’s 12V outlet for convenience
3. Tire Tread Depth Gauge – Essential for checking tread wear alongside pressure issues
4. Valve Stem Caps – Keep replacements handy as these small components prevent air leaks
5. Soapy Water Solution – In a spray bottle to check for slow leaks
6. Flashlight – For inspecting tire sidewalls and treads in poor lighting conditions
7. Owner’s Manual – Contains vehicle-specific recommended tire pressure values
8. Notebook or App – To track pressure readings and maintenance history
Timing / Inspection Schedule

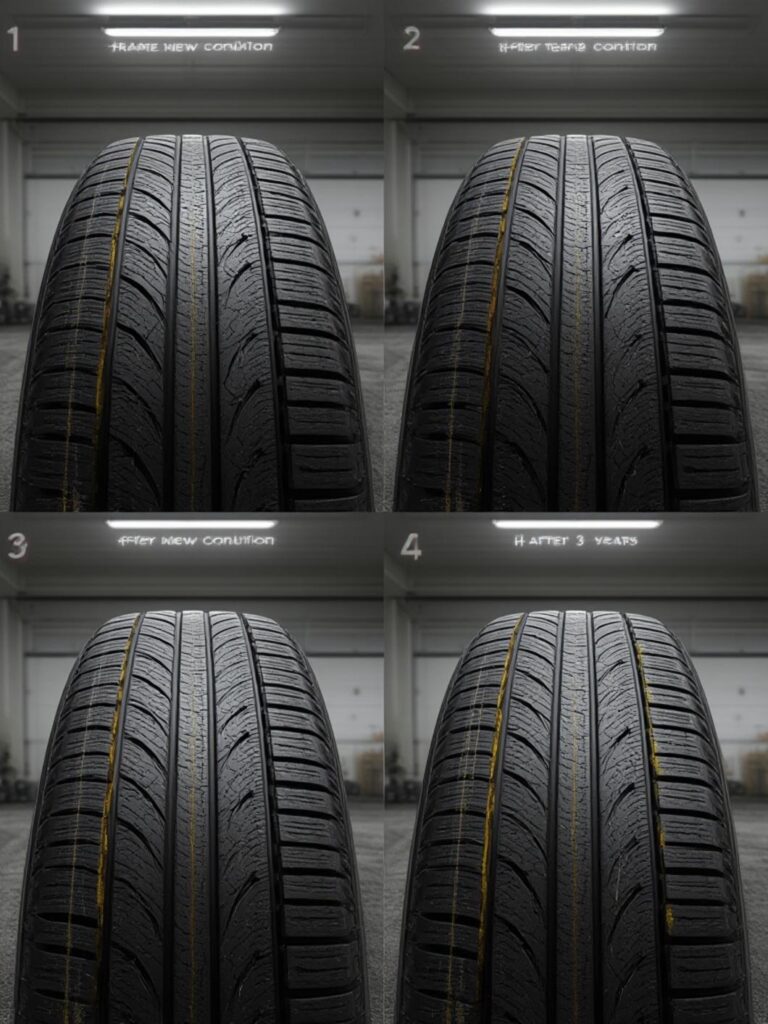
Tire pressure should be checked at least once monthly and before any long trip. However, most drivers only check when the low tire pressure light appears, which is already below the optimal range. Seasonal changes significantly impact tire pressure—for every 10°F temperature drop, tires lose about 1 PSI. This explains why the warning often illuminates during the first cold snap of autumn or winter mornings.
Make it a habit to check pressures when tires are “cold” (before driving or at least three hours after driving) for accurate readings. Most vehicles require pressure checks every 3,000-5,000 miles, coinciding perfectly with oil change intervals, making it easier to remember this crucial maintenance task.
Step-by-Step Instructions
1. Identify the correct pressure – Check your vehicle’s door jamb sticker or owner’s manual for the manufacturer’s recommended PSI (not the maximum PSI printed on the tire sidewall)
2. Check pressure when tires are cold – Morning is ideal, before driving or at least three hours after parking
3. Remove valve stem caps – Store them securely to avoid losing these small but important components
4. Use your pressure gauge – Press firmly onto the valve stem until the hissing sound stops for an accurate reading
5. Compare with recommended PSI – Note any tires that are under or over the specification
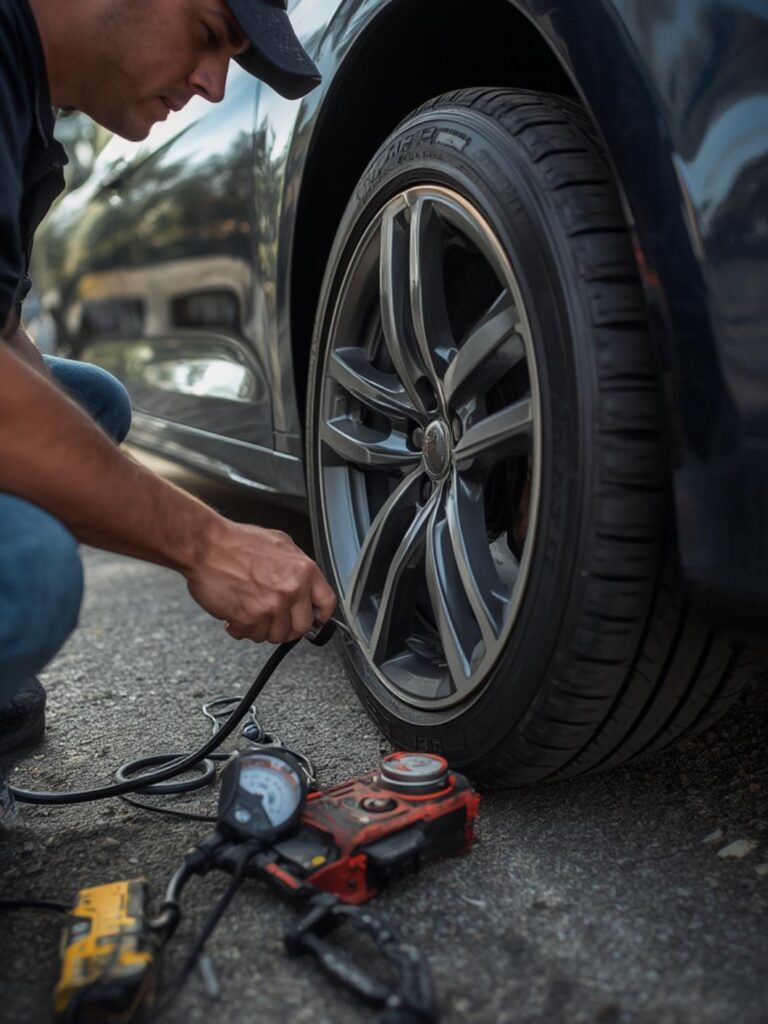
6. Add air as needed – Connect your compressor to add air in short bursts, checking pressure between additions to avoid over-inflation
7. Reduce pressure if too high – Press the small pin in the center of the valve stem to release air if you’ve added too much
8. Replace valve stem caps – This prevents dirt and moisture from affecting the valve
9. Reset your low tire pressure light – Many vehicles have a TPMS reset button in the glove box or under the steering wheel, while others reset automatically after driving
10. Record your readings – Track pressure changes over time to identify slow leaks or problematic tires
The TPMS warning light is designed to illuminate when pressure drops approximately 25% below the recommended level, but waiting until this point means you’ve already been driving on underinflated tires, potentially causing uneven wear.
Benefits / Advantages
Properly maintained tire pressure delivers numerous benefits:
– Improves fuel efficiency by up to 3% (saving approximately $0.10 per gallon)
– Extends tire lifespan by preventing uneven tread wear
– Enhances vehicle handling and braking response
– Reduces the risk of blowouts and tire-related accidents
– Provides a smoother, more comfortable ride
– Minimizes carbon emissions through improved efficiency
– Reduces strain on your vehicle’s suspension components
Tips, Alternative Methods, or Driving Advice
– Keep a portable tire inflator in your vehicle for emergencies
– Consider nitrogen inflation for more stable pressure over temperature changes
– Mark your recommended pressures with a permanent marker inside your fuel door for quick reference
– For lifted trucks or sports cars with specialized tires, consult with a tire professional about optimal pressure adjustments
– During extreme temperature changes, check pressure more frequently
– When carrying heavy loads, increase pressure by 2-3 PSI (but never exceed the maximum sidewall rating)
– Consider installing metal valve stems for better durability in harsh conditions
Common Mistakes to Avoid
1. Ignoring the warning light – The low tire pressure light indicates a significant safety issue that should be addressed immediately
2. Using the sidewall maximum PSI – Always use the vehicle manufacturer’s recommended pressure, not the maximum PSI listed on the tire
3. Checking hot tires – Pressure readings on recently driven tires will be artificially high by 4-6 PSI
4. Visual inspections only – Tires can be dangerously underinflated without looking flat; always use a gauge
5. Forgetting the spare – Include your spare tire in regular pressure checks to ensure it’s ready when needed
Storage / Maintenance Tips
Store unmounted seasonal tires in cool, dry locations away from direct sunlight, ozone sources (like electric motors), and chemicals. Stack them horizontally or hang them individually. For mounted tires, maintain proper inflation even during storage and elevate the vehicle if possible to prevent flat spots.
For ongoing maintenance:
– Rotate tires every 5,000-7,000 miles
– Check alignment annually or after hitting major potholes
– Balance tires when experiencing vibration
– Inspect sidewalls for bulges, cuts, or cracks monthly
Conclusion
Understanding how to respond to the TPMS warning light is an essential skill for every driver. By following the steps outlined in this guide, you’ll not only ensure your safety on the road but also maximize your vehicle’s performance and extend the life of your tires. Regular pressure checks take just minutes but deliver significant benefits in terms of safety, efficiency, and cost savings. Make tire pressure monitoring a regular part of your vehicle maintenance routine, and you’ll drive with greater confidence knowing your tires are in optimal condition.
FAQs
How accurate are built-in tire pressure monitoring systems?
Most factory TPMS systems are accurate within 1-2 PSI, but they’re designed as warning systems, not precise measurement tools. Always confirm with a quality pressure gauge.
Can I drive with the low pressure light on?
While you can technically drive short distances, it’s not recommended. Underinflated tires overheat, wear unevenly, and increase your risk of a blowout. Address the issue as soon as safely possible.
Why does my tire pressure light come on in cold weather?
Air contracts in cold temperatures, reducing tire pressure. For every 10°F drop, expect about 1 PSI decrease in your tires.
If I fill my tires to the correct pressure, why does the light stay on?
Most vehicles require driving for several minutes after proper inflation for the TPMS to recalibrate. If the light remains on, your vehicle may need a manual reset procedure or have a malfunctioning sensor.
Do I need to replace TPMS sensors when getting new tires?
Not necessarily, but the battery life of most sensors is 5-7 years. If your tires are that old, consider replacing the sensors along with your new tires to avoid future issues.