
How to choose the top 4 no flat bike tires
Have you ever been halfway through a perfect ride when that dreaded hissing sound brings your cycling adventure to an abrupt halt? Proper bike tire maintenance isn’t just about avoiding inconvenient flats it’s about ensuring your safety, optimizing performance, and extending the life of your investment. Today’s advancements in bicycle tire technology, including no flat bike tires and tubeless bike tires, have revolutionized cycling, but even these innovations require regular care.
Table of Contents
Let’s explore how you can maintain your bicycle tires effectively at home, saving you money while keeping your rides smooth and puncture-free.
Materials & Supplies
To properly maintain your bicycle tires, gather these essential items:
1. Tire Pressure Gauge – A dedicated bicycle pressure gauge that can read pressures up to 120 PSI accurately
2. Bike Pump – Floor pump with pressure gauge for home use; mini pump for on-the-road emergencies
3. Tire Levers – Set of 2-3 plastic tire levers for removing tires from rims
4. Patch Kit – Contains adhesive patches, rubber cement, and sandpaper
5. Spare Inner Tubes – Correct size for your wheels
6. Sealant – Essential for tubeless setups
7. Valve Core Remover – For tubeless tire maintenance
8. Microfiber Cloth – For cleaning tire sidewalls
9. Tire Boot – Emergency repair for larger tire cuts
10. Valve Adapters – For different valve types (Presta/Schrader)
Timing / Inspection Schedule

Regular tire inspection prevents most roadside emergencies. Follow this schedule:
- Before Every Ride: Quick visual check and pressure verification (takes 2-3 minutes)
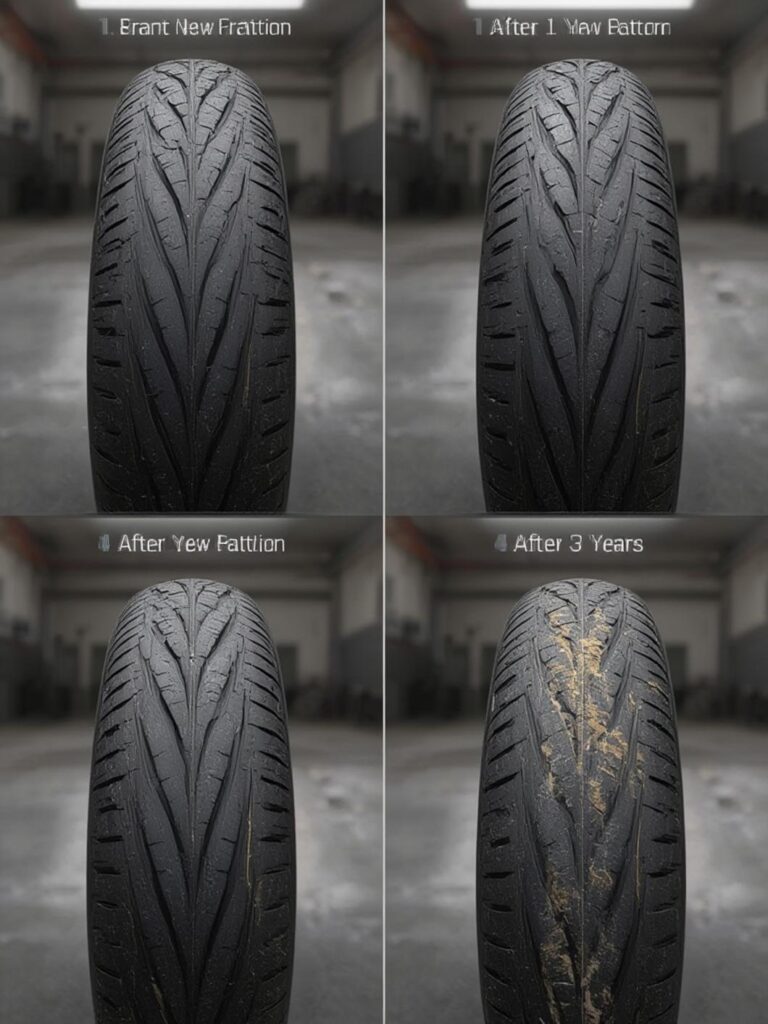
- Weekly: Thorough tire inspection for embedded debris, cuts, or uneven wear (5-10 minutes)
- Monthly: Complete tire removal and rim inspection, especially for tubeless setups (20-30 minutes)
- Seasonally: Comprehensive system check including sealant refresh for tubeless systems (30-45 minutes)
- After Riding in Wet Conditions: Additional inspection as water can wash debris into tires
Road cyclists typically need more frequent checks than casual riders, while mountain bikers should inspect after particularly rough trails regardless of schedule.
Step-by-Step Instructions
1. Check Tire Pressure
* Use a quality gauge to verify pressure matches the recommended PSI range printed on your tire sidewall
* For no flat bike tires systems, maintain slightly higher pressure than standard tires
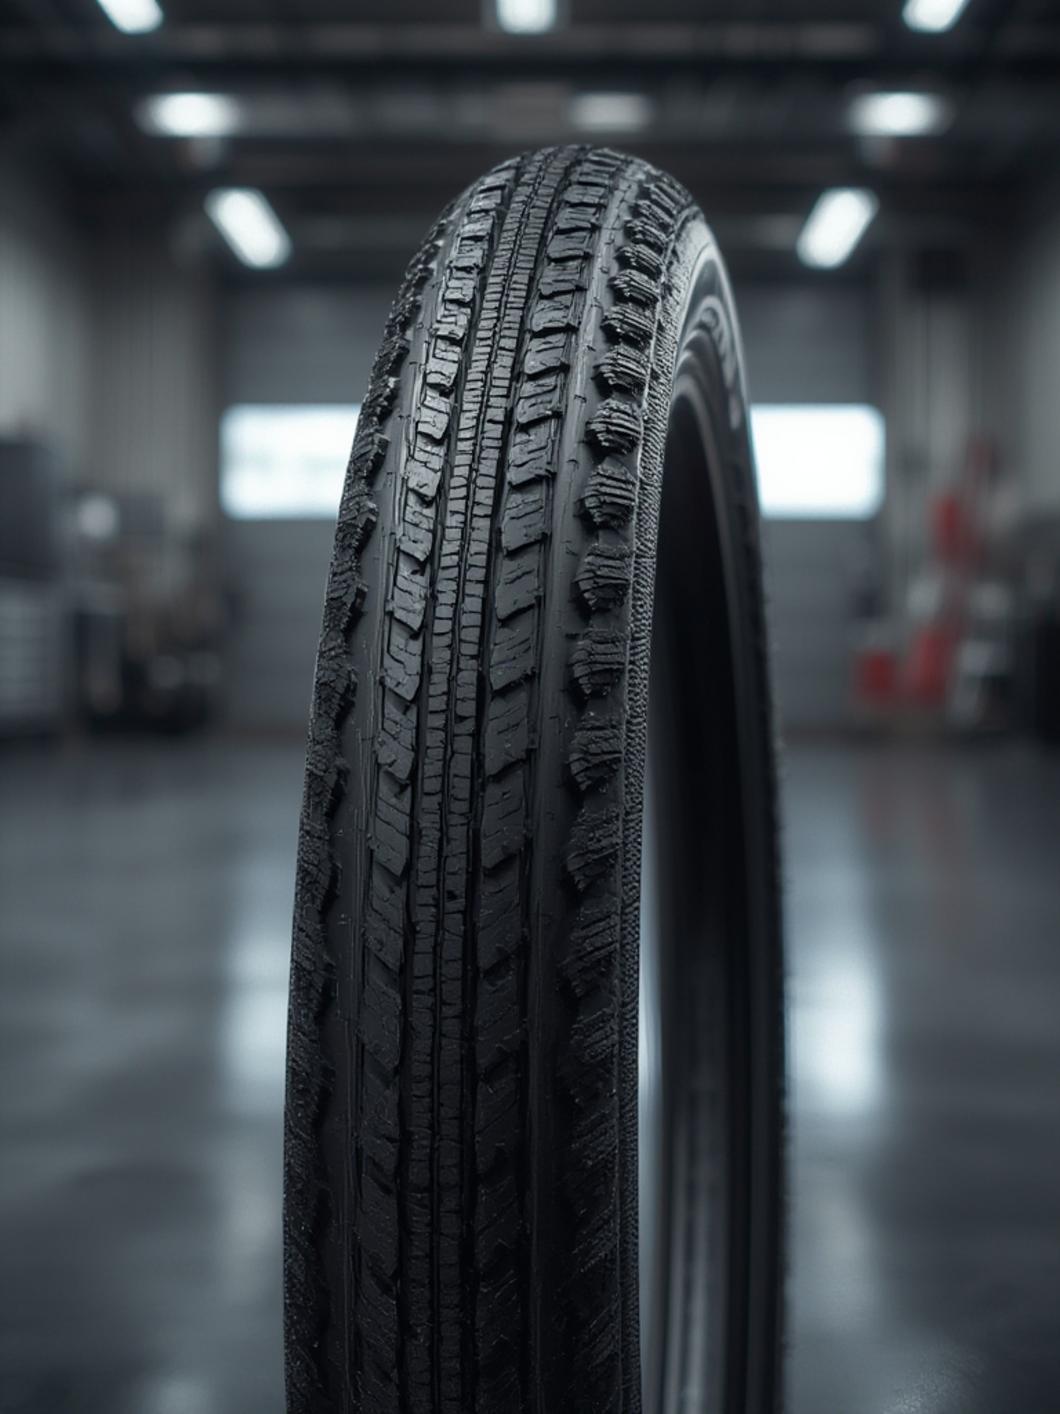
2. Inspect Tire Tread and Sidewalls
* Run your fingers along the entire circumference, removing any embedded glass, thorns, or debris
* Look for cuts, bulges, or excessive wear patterns
* Pro tip: Do this inspection in good lighting, turning the wheel slowly
3. Check Wheel Trueness
* Spin the wheel and watch for wobbles that could indicate alignment issues
* Minor wobbles can create uneven tire wear
4. Maintain tubeless bike tires
* Regularly add sealant every 2-3 months (more frequently in hot climates)
* Listen for sloshing sound to confirm adequate sealant levels
* Ensure proper bead seating around the entire rim
5. Clean Tires
* Wipe sidewalls with a damp cloth to remove road grime
* Never use harsh chemicals that could degrade rubber compounds
* Keep brake surfaces clean (for rim brakes) to prevent accelerated wear
Benefits / Advantages
Proper tire maintenance delivers multiple advantages:
- Enhanced grip and control in all weather conditions
- Reduced rolling resistance for improved speed and efficiency
- Significant cost savings by extending tire lifespan
- Greater ride comfort through optimal pressure maintenance
- Fewer mid-ride mechanical issues that interrupt your cycling
- Improved handling and cornering confidence
Tips, Alternative Methods, or Riding Advice
- Consider lower pressure for improved comfort and traction in wet conditions (but stay within recommended range)
- Use talcum powder when installing new tubes to prevent pinching
- For winter riding, drop tire pressure by 3-5 PSI for better snow traction
- When traveling, slightly deflate tires if your bike will experience altitude changes
- Install tire liners as an additional puncture prevention layer for commuter bikes
Common Mistakes to Avoid
- Overinflation: Creates harsh rides and increases risk of blowouts
- Underinflation: Leads to pinch flats and premature wear
- Using Incorrect Tools: Screwdrivers instead of tire levers can damage rims and tubes
- Neglecting Sealant Checks: Dried sealant won’t seal punctures in tubeless setups
- Mixing Incompatible Components: Not all tires work with all rim types
Storage / Maintenance Tips
- Store bikes with tires slightly deflated if not riding for extended periods
- Hang bikes or store upright to prevent flat spots on tires
- Keep tires out of direct sunlight to prevent rubber deterioration
- Rotate front and rear tires halfway through their lifespan for even wear
- Clean sealant residue from tubeless rims during tire changes
Conclusion
Reliable bicycle tires are the foundation of every great ride. By implementing these maintenance practices, you’ll maximize your investment in no flat bike tires and tubeless bike tires while ensuring your cycling adventures remain interruption-free. Remember that consistency is key five minutes of preventative maintenance can save hours of trailside repairs and frustration. What tire maintenance routine will you implement this week? Share your experiences in the comments, and check out our related posts on bike maintenance for more cycling tips.
FAQs
How often should I replace my bicycle tires?
Most quality bicycle tires should be replaced after 2,000-3,000 miles for road bikes and 1,000-1,500 miles for mountain bikes, though actual lifespan depends on riding conditions, maintenance, and tire quality.
Can I convert my standard wheels to tubeless?
Many modern rims are “tubeless-ready,” requiring only tubeless-compatible tires, valve stems, rim tape, and sealant. Older rims may be convertible but with less reliable results. Check manufacturer specifications before attempting conversion.
What’s the correct tire pressure for my bike?
The ideal pressure depends on rider weight, tire width, and riding conditions. Start with the manufacturer’s recommended range printed on the tire sidewall, then adjust downward by 5-10% for comfort or upward by 5% for efficiency.
How do I fix a slow leak in tubeless tires?
First, ensure sealant levels are adequate. If leaking persists, locate the puncture by applying soapy water to find bubbles, then add more sealant and rotate the wheel to distribute it. For larger punctures, tubeless repair plugs offer a permanent solution.
Are expensive bicycle tires worth the investment?
Premium tires typically offer better puncture protection, grip, durability, and lower rolling resistance. For casual riders, mid-range tires offer good value, while frequent cyclists and racers will notice significant performance improvements from higher-end options.