
Top rated 5 steps to change a tire
Have you ever found yourself stranded on the side of the road with a deflated tire and no idea what to do next? Learning the proper steps to change a tire is a crucial skill that every driver should master. Whether you’re facing a sudden puncture or dealing with a slow leak that requires flat tire repair, knowing how to handle this common emergency can save you time, money, and stress.
Table of Contents
This guide will walk you through everything you need to know about changing a tire safely and efficiently, ensuring you’re prepared when the unexpected happens.
Materials & Supplies
To properly change a flat tire, you’ll need these essential tools:
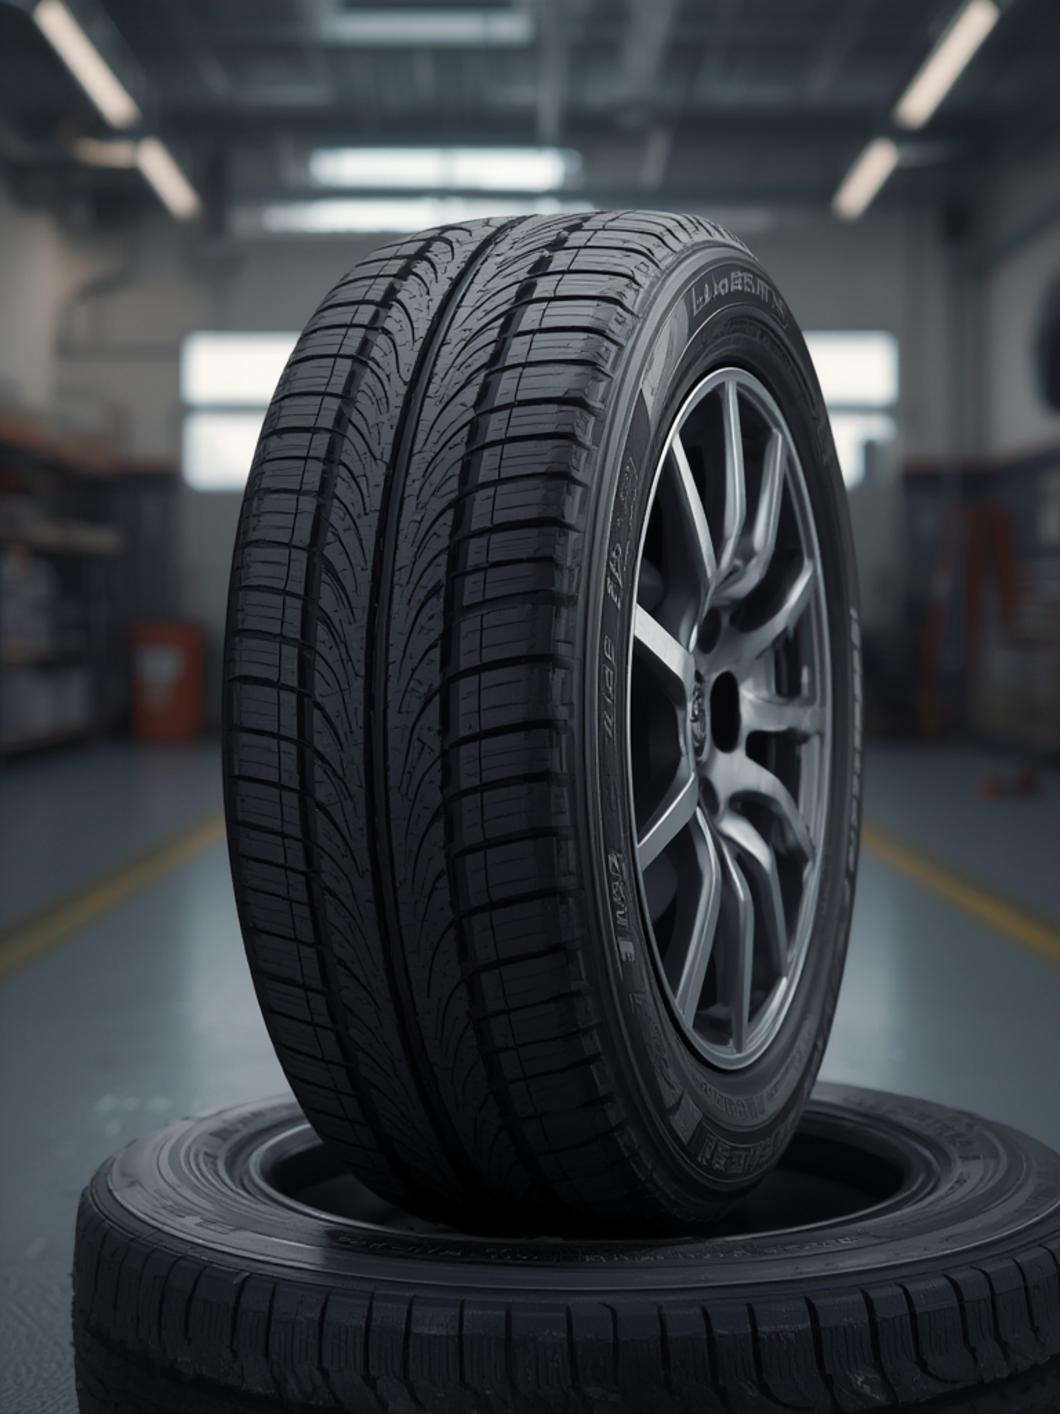
1. Spare tire – Ensure it’s properly inflated and in good condition
2. Jack – Vehicle-specific jack that came with your car
3. Lug wrench – To remove and tighten the lug nuts
4. Owner’s manual – For vehicle-specific instructions
5. Wheel chocks – To prevent the vehicle from rolling
6. Flashlight – Essential for nighttime tire changes
7. Gloves – Protects hands from dirt and sharp edges
8. Reflective triangles or flares – For roadside visibility
9. Tire pressure gauge – To check spare tire pressure
10. Rain poncho – In case of inclement weather
11. Tire repair kit – For temporary fixes when a spare isn’t available
Timing / Inspection Schedule

Changing a tire typically takes 15-30 minutes for those with experience, but plan for up to an hour if you’re new to the process. Inspect your spare tire monthly along with your regular tires to ensure it’s properly inflated and in good condition. Check your tire-changing equipment seasonally to confirm everything is present and functional.
Preventative inspection can help you avoid emergencies altogether. Look for signs of tire wear, punctures, or slow leaks weekly, especially before long trips. Seasonal changes in temperature can affect tire pressure, so perform thorough inspections when transitioning between winter and summer.
Step-by-Step Instructions
1. Find a safe location – Pull completely off the road on level ground away from traffic. Turn on hazard lights.
2. Secure the vehicle – Apply the parking brake and place wheel chocks on the opposite side of the flat tire.
3. Prepare the equipment – Remove the jack, lug wrench, and spare tire from your vehicle before starting the steps to change a tire.
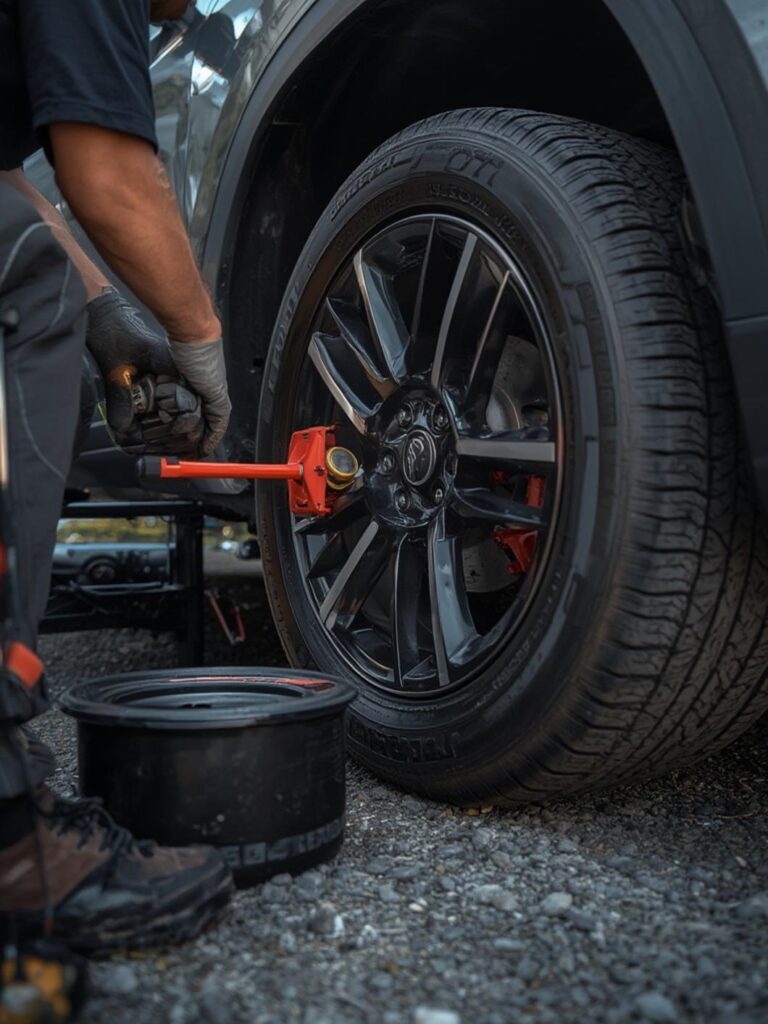
4. Loosen the lug nuts – Use the lug wrench to loosen (but not remove) the lug nuts by turning counterclockwise while the tire is still on the ground.
5. Position the jack – Consult your owner’s manual for proper jack placement to avoid damaging your vehicle.
6. Raise the vehicle – Jack up the car until the flat tire is about six inches off the ground.
7. Remove the lug nuts – Unscrew the loosened lug nuts completely and place them in a secure location.
8. Remove the flat tire – Pull the tire straight toward you to remove it from the hub.
9. Mount the spare tire – Align the spare with the wheel bolts and push it into place.
10. Replace the lug nuts – Hand-tighten the lug nuts in a star pattern.
11. Lower the vehicle – Lower the car until the tire touches the ground but still bears no weight.
12. Tighten the lug nuts – Tighten the lug nuts completely in a star pattern using the lug wrench.
13. Fully lower the vehicle – Remove the jack completely.
14. Check the spare pressure – Verify the spare tire has proper inflation.
15. Store the equipment – Secure the flat tire repair needs and all tools properly in your vehicle.
Benefits / Advantages
Learning to change a tire yourself provides numerous benefits:
– Immediate self-sufficiency during emergencies
– Significant cost savings over roadside assistance
– Reduced waiting time during emergencies
– Increased confidence in vehicle handling
– Better understanding of your vehicle’s components
– Ability to help others in similar situations
Tips, Alternative Methods, or Driving Advice
– Consider keeping a portable air compressor in your vehicle
– Learn to use temporary tire sealant products for emergency situations
– Practice changing your tire in your driveway before facing a real emergency
– Consider upgrading to run-flat tires if you frequently drive in remote areas
– When traveling in unfamiliar or remote locations, know local roadside assistance options
Common Mistakes to Avoid
– Not loosening lug nuts before jacking – Always break the lug nuts loose while the tire is on the ground
– Improper jack placement – Incorrect positioning can damage your vehicle or cause the jack to slip
– Under-tightening lug nuts – This can lead to wheel separation while driving
– Over-tightening lug nuts – This can warp rotors or break studs
– Forgetting to check spare tire pressure – A flat spare won’t help in an emergency
Storage / Maintenance Tips
Proper tire storage and maintenance ensures they’re ready when needed:
– Store the spare tire in its designated location, properly secured
– Check spare tire pressure monthly with your regular tire pressure checks
– Keep all tire-changing tools clean, rust-free, and properly organized
– Consider a cover for your spare if it’s mounted externally
– Replace your spare according to manufacturer recommendations
Conclusion
Mastering the steps to change a tire is an essential skill for every driver that provides independence and peace of mind on the road. By following the guidelines in this article and being prepared with the proper tools for flat tire repair, you’ll be ready to handle one of driving’s most common emergencies with confidence. Remember to practice these skills before you need them, maintain your equipment properly, and always prioritize safety when changing a tire. What other car maintenance skills would you like to learn? Share your experiences or questions in the comments below!
FAQs
How long can I drive on a spare tire?
Most temporary spares (donut tires) should only be used for 50-70 miles at speeds under 50 mph. Full-size spares can be driven longer but should be replaced or repaired as soon as possible.
Do I need to retighten my lug nuts after changing a tire?
Yes, it’s recommended to check and retighten your lug nuts after driving 25-50 miles on a newly changed tire, as they may loosen slightly with initial use.
Can I change a tire on an incline?
It’s strongly discouraged to change a tire on any incline. Always find level ground to ensure the vehicle remains stable during the process.
What if my lug nuts are too tight to loosen by hand?
Try standing on the lug wrench (carefully) or using a pipe extension to increase leverage. If still unsuccessful, you may need professional assistance with impact tools.
How do I know when my spare tire needs replacement?
Check for visible damage, cracks, or bulges, and verify the manufacturing date. Most spare tires should be replaced after 6-10 years, even if never used, due to rubber degradation.