
Quick way to grow: 7 how to change tires
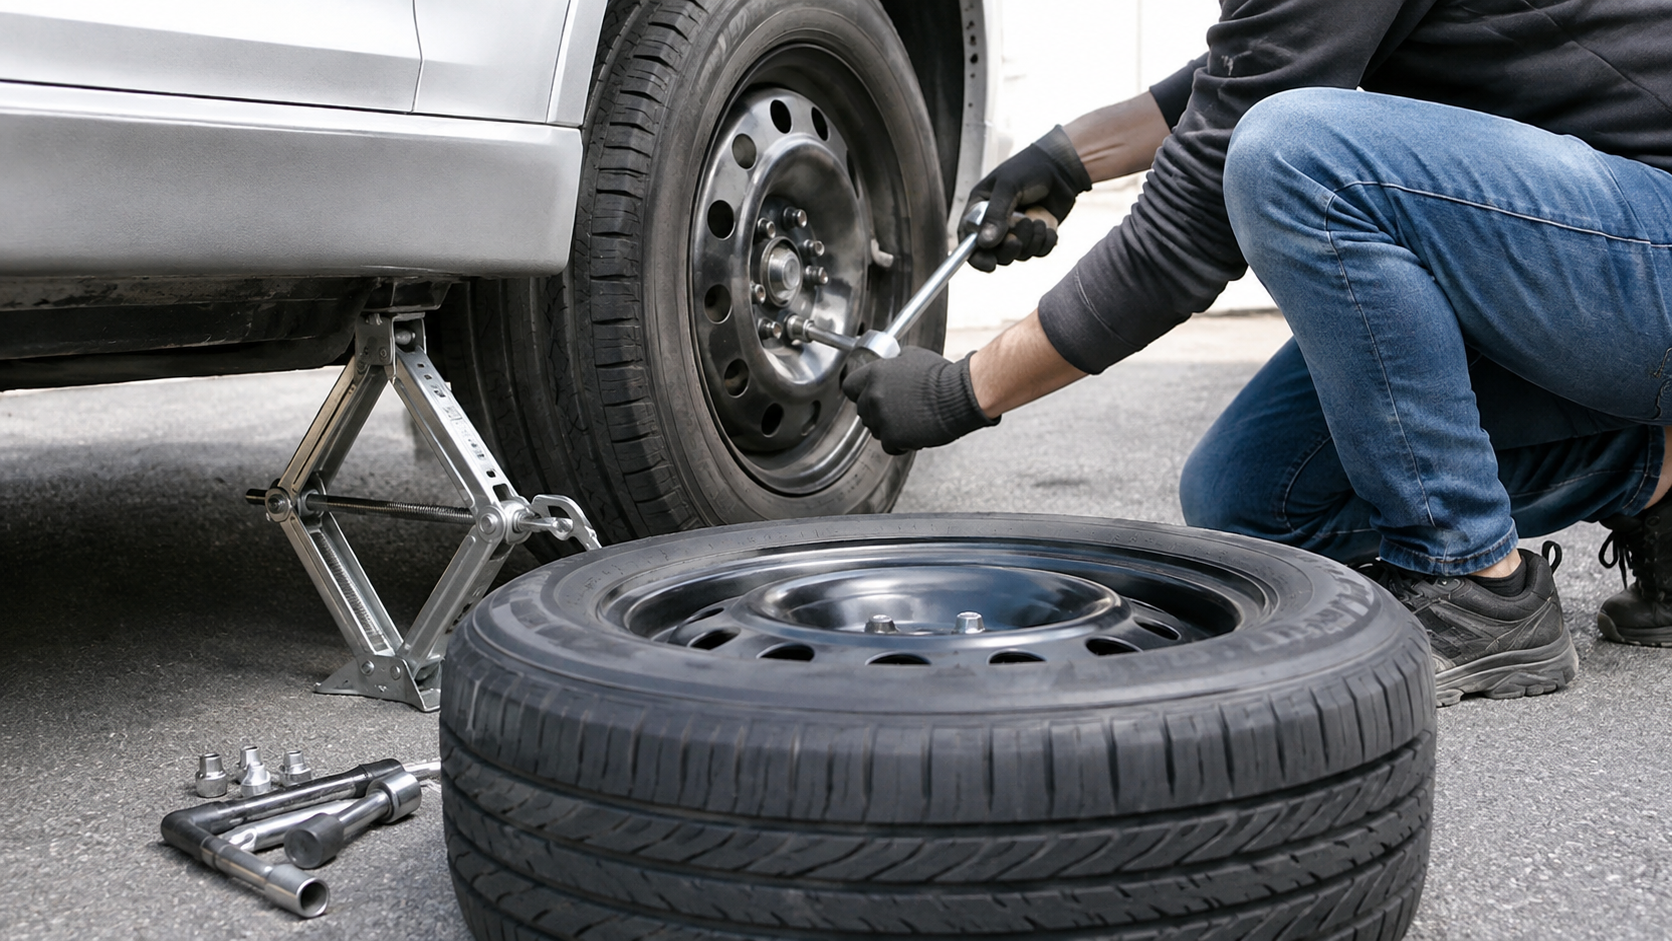
If you have a flat tire and need to get back on the road, knowing how to change tire safely can save time and help you avoid an unnecessary roadside delay. The basic process is straightforward: secure the vehicle, loosen the lug nuts, raise the vehicle with the correct jack point, remove the damaged wheel, install the spare, and tighten everything correctly. The important part is not speed alone. Safe positioning, proper equipment, and careful tightening matter just as much.

A spare tire is usually a temporary solution rather than a replacement for a normal road tire. Before starting, check your owner’s manual for the recommended lifting points, spare-tire instructions, and any vehicle-specific limitations. If the vehicle is in an unsafe location, the tire has suffered major damage, or you cannot lift and secure the vehicle confidently, professional roadside assistance is the safer choice.
Before You Lift the Vehicle: Make the Scene Safe
The first step in changing a tire happens before you touch the lug nuts. Move the vehicle as far away from moving traffic as the situation safely allows. Choose firm, level ground whenever possible. Turn off the engine, engage the parking brake, and place the transmission in Park for an automatic vehicle or in a low gear for a manual transmission.
- Choose stable ground: Avoid soft shoulders, steep slopes, loose gravel, or locations where the jack could sink or shift.
- Make yourself visible: Use hazard warning lights and appropriate warning equipment when conditions require it.
- Secure the vehicle: Keep the parking brake engaged and prevent unintended movement before lifting.
- Keep people clear: Passengers should move to a safe location away from traffic and the vehicle being lifted.
- Check the spare: Confirm that it is inflated and suitable for temporary use before relying on it.
Never place any part of your body underneath a vehicle supported only by a jack. A vehicle jack is designed for lifting, not for providing a permanent support structure. Follow the vehicle manufacturer’s instructions for safe lifting and wheel replacement.
Tools You Should Have in the Vehicle
You do not need a large workshop to replace a flat tire, but you do need the correct basic equipment. Most vehicles supplied with a spare tire include a jack and a lug-nut wrench, although equipment varies by model. A flashlight, gloves, and a warning device can make an unexpected roadside repair easier to manage.
| Tool or Item | Purpose | What to Check |
|---|---|---|
| Vehicle jack | Raises the vehicle | Use only at the manufacturer’s specified lifting point |
| Lug-nut wrench | Loosens and tightens wheel nuts | Make sure it fits the vehicle’s lug nuts |
| Spare tire | Temporarily replaces the damaged tire | Check condition, pressure, and vehicle compatibility |
| Wheel chock | Helps prevent vehicle movement | Use according to the vehicle’s safety instructions |
| Gloves and flashlight | Improve visibility and handling | Especially useful at night or in poor weather |
If you want a shorter version of the process for future reference, the site’s quick guide to changing tires in seven steps can serve as a useful companion to this more detailed explanation.
How to Change Tire in 7 Simple Steps
Step 1: Prepare the Vehicle and Locate the Spare
Park securely, apply the parking brake, and switch on the hazard lights when appropriate. Take the spare tire, jack, and lug-nut wrench out of their storage locations. Remove any hubcap or wheel cover only if your vehicle requires it for access to the lug nuts. Before lifting the vehicle, read the relevant instructions in the owner’s manual and identify the correct jack point.
Step 2: Loosen the Lug Nuts Before Raising the Car
Place the lug-nut wrench firmly over the first nut and turn it counterclockwise. Do not completely remove the nuts yet. If a nut is tight, keep the wrench seated properly and apply controlled force rather than sudden movement. Work around the wheel until every lug nut is loose enough to remove by hand later. This step is easier while the tire remains on the ground because the wheel cannot rotate as freely.
Step 3: Position the Jack at the Correct Point
Consult the owner’s manual to identify the approved lifting location. Position the jack carefully so its lifting surface contacts the designated point securely. Keep the jack on firm, level ground and ensure it sits straight. Raise the vehicle slowly until the damaged tire is just clear of the ground. Do not lift the vehicle higher than necessary to remove the wheel and install the spare.
Step 4: Remove the Damaged Wheel
Finish removing the loosened lug nuts and keep them together where they cannot roll away. Hold the wheel with both hands and pull it straight toward you. If it feels stuck, do not climb under the vehicle or strike it aggressively. Use an appropriate method recommended for your vehicle. Once removed, place the damaged wheel in a stable location where it will not interfere with your work.
Step 5: Mount the Spare Tire
Align the spare wheel with the wheel studs or mounting holes and push it into position. Thread the lug nuts by hand first. This helps reduce the risk of cross-threading and ensures the wheel sits correctly before tightening. Once all nuts are started, tighten them lightly in a crisscross or star pattern when the wheel design permits it. Do not fully tighten them with maximum force while the vehicle remains raised.
Step 6: Lower the Vehicle and Tighten the Lug Nuts
Lower the vehicle carefully until the spare tire makes firm contact with the ground, then remove the jack completely if the manufacturer’s procedure calls for it. Tighten the lug nuts in the recommended sequence, typically using a crisscross pattern for a five-lug wheel. The correct final torque is vehicle-specific, so use the torque specification provided by the manufacturer and a torque wrench when available.
Step 7: Finish the Job Before Driving Away
Check that the lug nuts are secure, collect the jack and tools, and store the damaged tire safely if it fits in the vehicle. Check the spare’s condition and pressure against the manufacturer’s instructions. If your vehicle uses a compact temporary spare, follow its speed and distance limitations exactly. Drive cautiously and arrange for the damaged tire to be repaired or replaced as soon as practical.
Common Mistakes That Can Turn a Simple Tire Change Into a Problem
Most tire-changing errors come from rushing the setup rather than from the wheel removal itself. A few minutes spent checking the surface, jack point, spare tire, and lug-nut procedure can prevent much bigger problems.
Using the Jack on the Wrong Part of the Vehicle
Every vehicle has designated lifting points. Using an unsuitable location can damage components or make the vehicle unstable. Never assume that a convenient-looking section of the chassis is a safe jack point. The owner’s manual is the correct reference for your specific vehicle.
Driving Away Without Checking the Lug Nuts
A wheel that has not been tightened correctly can become a serious safety concern. Do not rely on how tight the nuts felt by hand. Follow the manufacturer’s specified tightening procedure and torque specification. If you do not have the required equipment or cannot confirm the correct torque, have the wheel checked by a qualified professional.
Treating a Temporary Spare Like a Normal Tire
Compact spare tires can have different operating limitations from standard tires. Their purpose is generally to get the vehicle to a suitable repair location rather than provide a permanent replacement. Read the markings on the spare and the instructions supplied with your vehicle before driving.
When You Should Not Change the Tire Yourself
Knowing when to stop is part of knowing how to change tire safely. A flat tire on a narrow roadside, motorway shoulder, steep incline, unstable surface, or area with fast-moving traffic can expose you to greater danger than the original puncture. In these circumstances, roadside assistance may be the right decision.
- Unsafe location: Do not attempt the repair if traffic conditions make standing beside the vehicle dangerous.
- Severe tire damage: A destroyed sidewall or wheel damage may require professional inspection rather than a simple tire swap.
- Unstable ground: Do not use the jack where the vehicle cannot remain securely supported.
- Missing equipment: If you do not have the correct jack, wrench, or compatible spare, do not improvise with unsafe substitutes.
- Uncertainty: If you cannot identify the correct jack point or tightening procedure, ask a qualified professional for help.
What to Do After Installing the Spare
A successful wheel change does not necessarily mean the repair is finished. The spare should be treated according to the instructions for your particular vehicle. Check the tire pressure when possible, observe any temporary-spare speed limitations, and avoid unnecessary driving until the damaged tire can be repaired or replaced.
It is also useful to inspect the equipment once you reach a safe location. Make sure the jack, wrench, wheel chock, and spare-tire storage system are returned to their proper positions. Replacing or repairing a flat tire promptly means you will not discover an empty spare-tire compartment during the next roadside emergency.
For broader tire-safety information, pressure guidance, recalls, and consumer recommendations, consult the National Highway Traffic Safety Administration’s tire safety guidance.
A Simple Tire-Change Checklist to Remember
If you need to repeat the process under pressure, remember the sequence: secure the vehicle, prepare the equipment, loosen the lug nuts, position the jack correctly, lift only as much as necessary, remove the damaged wheel, install the spare, lower the vehicle, tighten the lug nuts correctly, and check the spare before driving.
It is worth keeping the owner’s manual accessible because vehicle designs differ. Jack locations, lug-nut specifications, spare-tire procedures, and temporary-spare restrictions are not universal. The general seven-step method provides the framework, while your vehicle’s documentation provides the details that make the procedure appropriate for that specific model.
Final Verdict: Safety Comes Before Speed
Learning how to change tire is a valuable practical skill, especially when a flat occurs far from a repair shop. The procedure itself is manageable for many drivers when the vehicle is in a safe location and the correct equipment is available. The key is to work methodically rather than rushing: secure the vehicle, use the approved jack point, install the spare correctly, and tighten the lug nuts according to the manufacturer’s specifications. If traffic, terrain, equipment, or tire damage creates uncertainty, professional roadside assistance is the safer option. A spare tire can get you moving again, but careful preparation is what gets you moving safely.